Affiliate Disclosure: Some of the links in this post may be affiliate links. As an Amazon Associate, we earn from qualifying purchases. Learn more here.
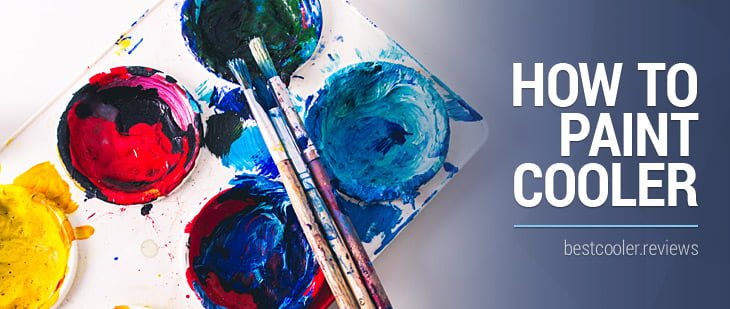
So you want to make your cooler truly your own. Well, what better way to do that than to paint it completely from scratch according to your chosen design? If you really want your cooler to stand out, there is no better way to make a resounding statement than to paint it.
Today, we’re going to explore the entire process and how to do it effectively. Here are the steps to giving your cooler the perfect paint job.
How to Paint a Cooler – 8 Steps Process
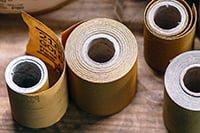
Start with some Spackle and Sand Paper
 The very first step is to cover all the existing logos and indents on your cooler. If you have a Yeti cooler, then you want that yeti logo completely covered. To begin with, fill up the indents and logos with spackle and make it as smooth as you can.
Once you’re done, it’s time for the hard work. Take the sand paper and sand as hard as you can on the cooler. The idea here is to sand your cooler until it is smooth in order to create a surface on which it will be easy for the paint to stick. It will definitely be hard work, but it is what will determine the success of your entire paint job. A well sanded base is the difference between a paint job that still looks fresh years later and one that comes off after just a few months.
Apply the Primer
This the stage where you actually apply the paint on the cooler. The primer is the canvas on which you will paint all your designs. Think of it as the base coat of paint. If you want the paint to stick to the plastic, it’s probably a good idea to spray it on, rather than use a brush. This kind of pain with will stick much better than traditional paint and will take a shorter time to dry. Don’t just stop at one coat. Instead, have a few coats on for maximum durability.
Get some cool Designs for your Cooler
This is probably the most important stage. It’s where you get to exercise your creativity and decide what designs you want on your cooler. You can draw out some rough drafts if you want to do it by hand, or you can print out your own logos and pictures. It’s a great idea to use the printing route because then your designs will look a lot more regular and professional that way.Transfer your Designs onto your Cooler
This is where you breathe life into your designs and place them on your cooler. The first step is to print out your design. You can then trace it onto the cooler using carbon paper, tracing paper, or stencils. You will need to place it on top of the cooler in the exact way you want it to look. To make things easier for you, tape it onto the cooler to make it firm.
Once that’s done, it’s time to trace the design out using a pencil or a Sharpie. Take your time with this one because you want it to look perfect. The logo and designs are the main reason why you’re painting your cooler, after all. Be especially careful if you’re using a Sharpie because you won’t want the Sharpie to show through the paint once you’re done. The safest option is always a pencil. If the image you want to put on the cooler, you can print it out and Mod Podge it onto the cooler later.
Paint over your Design
Now it’s time to paint over the design. Here you will have to use the more delicate and precise paint pens to do a good job. They should be used on the especially small details and in case any writing is involved. The brushes and sponges can be used on larger areas of the design. Start with one side at a time and make sure you’ve got it right before moving on to the other side. If you will have a different color on each side then you will need to be careful about the transitions, making them as smooth as possible. This is also the point where you Mod Podge your complex design.
Let your Paint Dry
Now that you’re done, you need to give your paint at least 24 hours to dry. Add a layer of Mod Podge to prevent the paint from chipping and give the paint a full day to dry.
Apply Sealer
The sealant will give your paint a glossy and professional look. You may have to apply several layers of sealant for best results. Make sure the preceding layer of sealant is perfectly dry before you apply the next layer.
Waterproof your Cooler
A coating of polyurethane should help your cooler to withstand especially wet times. That way your paint lasts longer. Before you do this, however, make sure the sealant has had at least 24 hours to dry. And just like that, you have a brand new paint job on your cooler! Prepare to see all the heads turn in awe as they admire your handiwork!
 The very first step is to cover all the existing logos and indents on your cooler. If you have a
 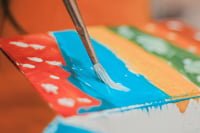 This is probably the most important stage. It’s where you get to exercise your creativity and decide what designs you want on your cooler. You can draw out some rough drafts if you want to do it by hand, or you can print out your own logos and pictures. It’s a great idea to use the printing route because then your designs will look a lot more regular and professional that way.
Alternatively, you can use decals and stickers on your cooler, if you’d rather not go through the torment of a full blown paint job. At the end of the day, the key is to have a beautiful cooler, no matter what avenue you use.
Disclaimers
All product names, logos, and brands are property of their respective owners. All company, product and service names used in this website are for identification purposes only. Use of these names, logos, and brands does not imply endorsement.
It is our policy to make every effort to respect the copyrights of outside parties. If you believe that your copyright has been misused, please provide us with a message stating your position and we will endeavor to correct any misuse immediately.
Some of the links in this post are affiliate links. As an Amazon Associate, we earn from qualifying purchases. This means if you click on the link and purchase the item, we may receive an affiliate commission, at no extra cost to you. This helps us keep this website alive. Learn more here.

Having to sand the coolers before painting them is too much work. Stratstar sells pre sanded coolers and paint that is affordable and accessible. I bought it using PowerBuy (the purple checkout button) and saved extra.